College Cuisine Connect Tutorial
This is a tutorial describing how to navigate and utilize the features of College Cuisine Connect.
Choose a Role
Choose the role that best aligns with your profile.
- Guest - Browse recipes, vendors, and the community without signing up.
- Student - Create your own cookbook and share your recipes.
- Vendor - Establish your store profile and showcase your curated selection of ingredients.
- Admin* - Manage user accounts and moderate all content.
*Admin role is granted by ES6-Enthusiasts. Contact us for more information.
Guest
Browse recipes, vendors, and the community without signing up.

The home page provides blurbs about the goals of our application. It generates featured recipes for your convenience. On the bottom is a link to this tutorial.

Navigate to the recipes page for a comprehensive list of recipes created by students. Each recipe card can be expanded to view more details.
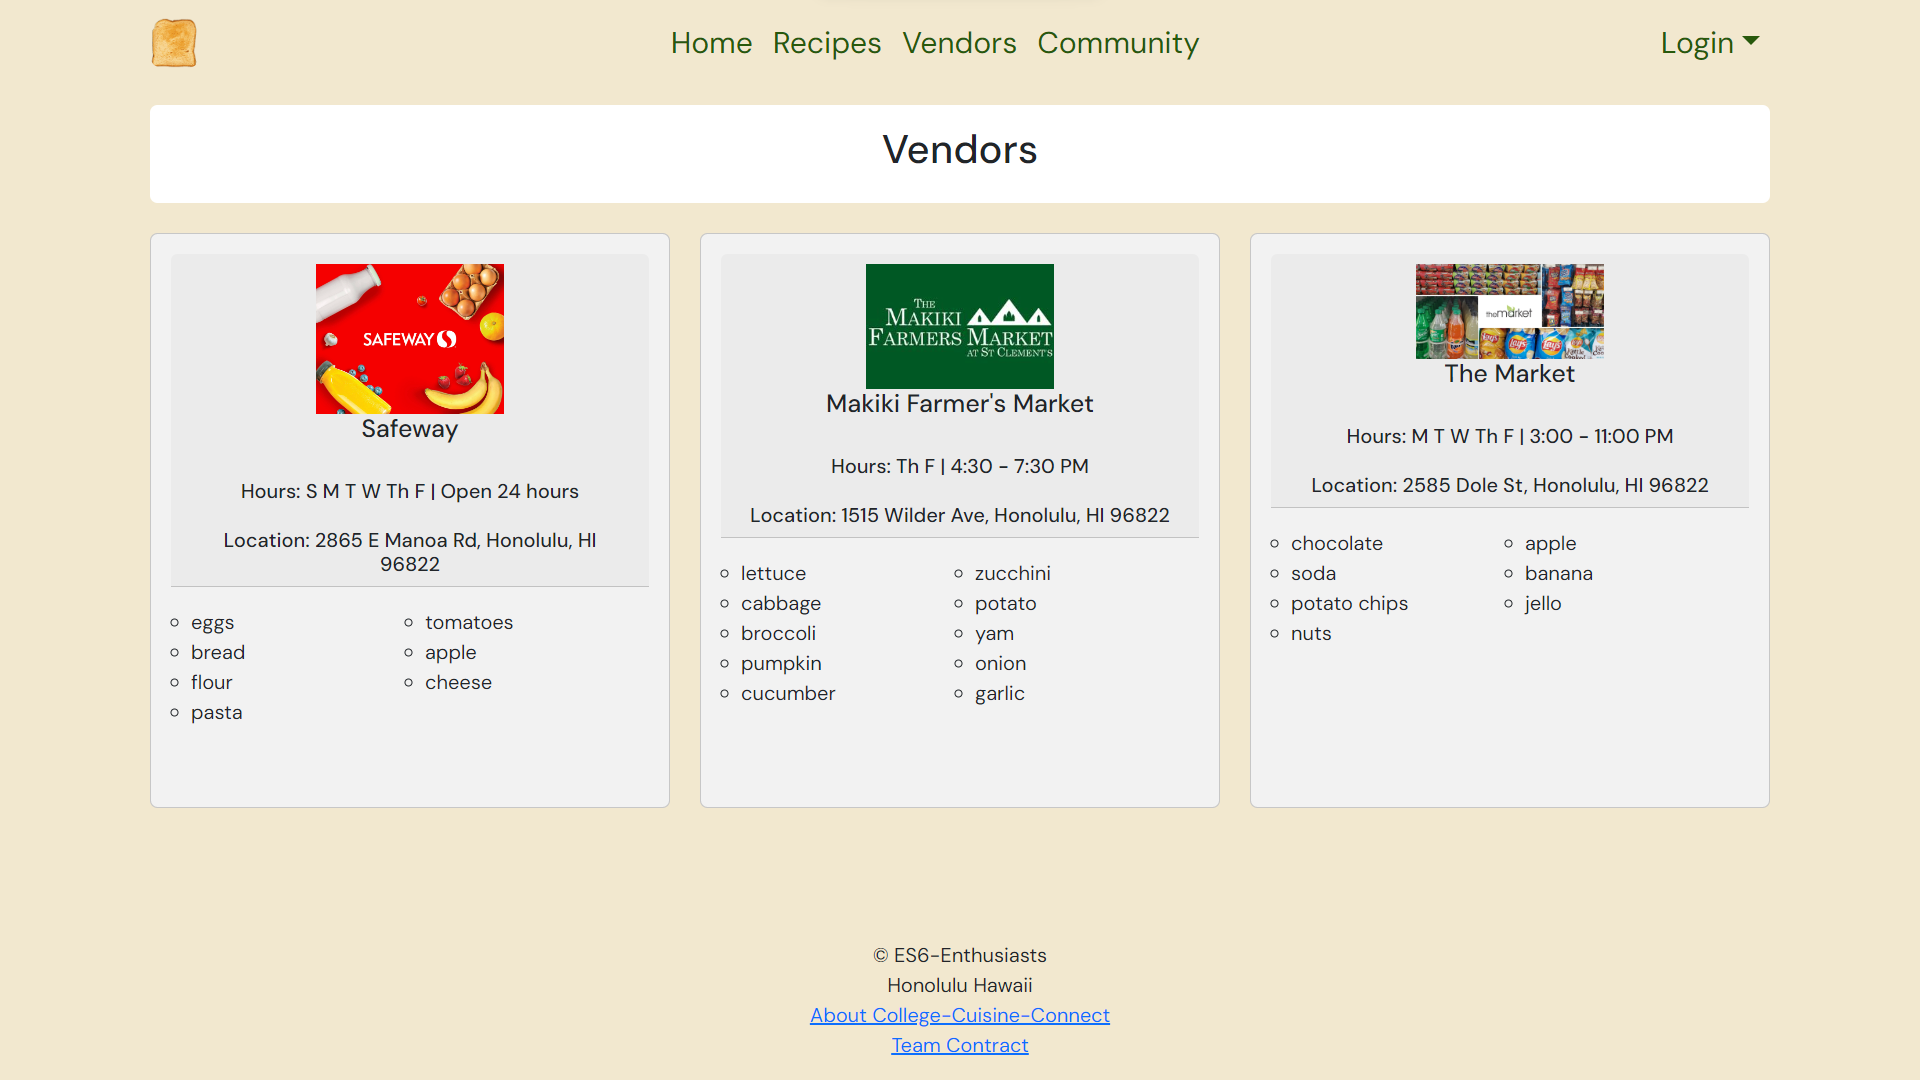
Navigate to the vendors page to discover essential store details such as operating hours, location, and the available inventory of ingredients.

Navigate to the community page to view all the awesome contributors that have shared a recipe.
Student
Create your own cookbook and share your recipes.
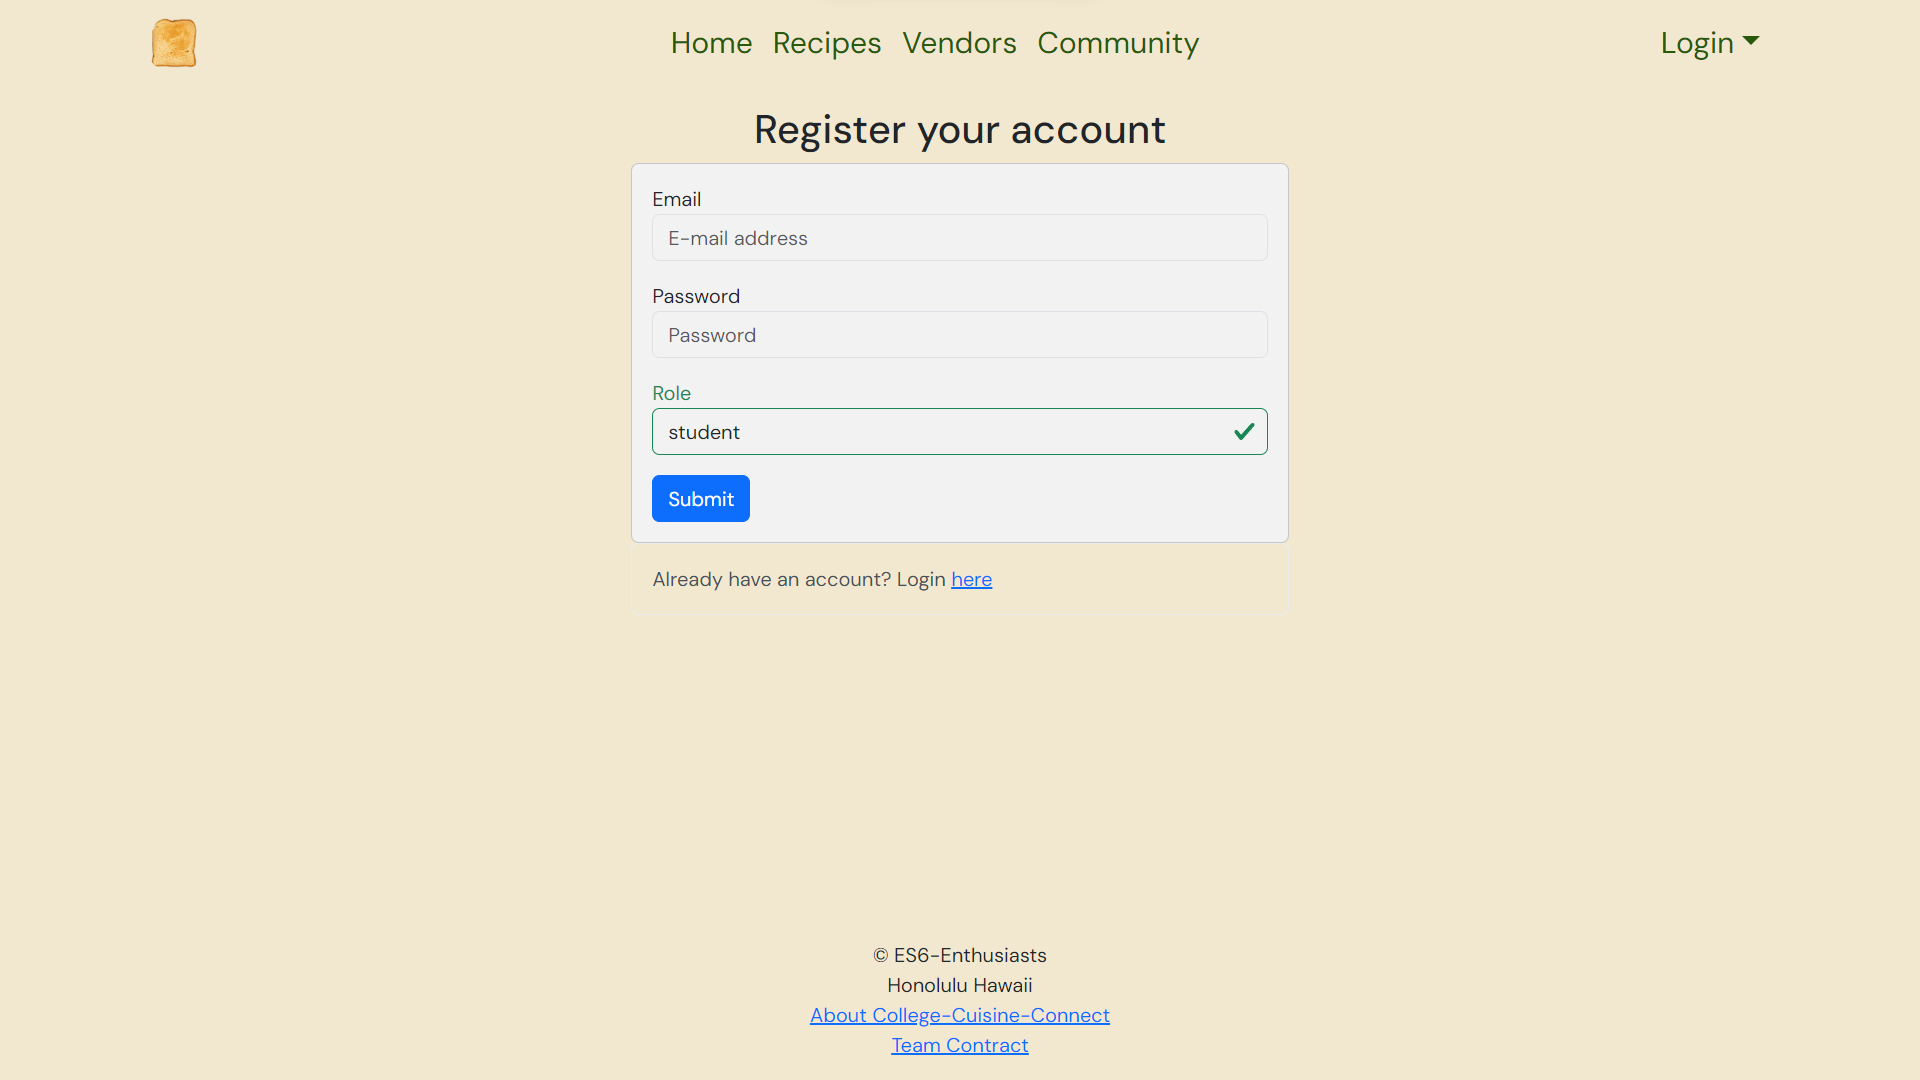
Log in or sign up for a student account. Access the login page through the navigation bar in the top right corner.
Try out the student user experience using the following test credentials: Email: john@foo.com Password: changeme

In the navigation bar, click on “My Cookbook” to view your cookbook. This page displays all of the recipes you have created.
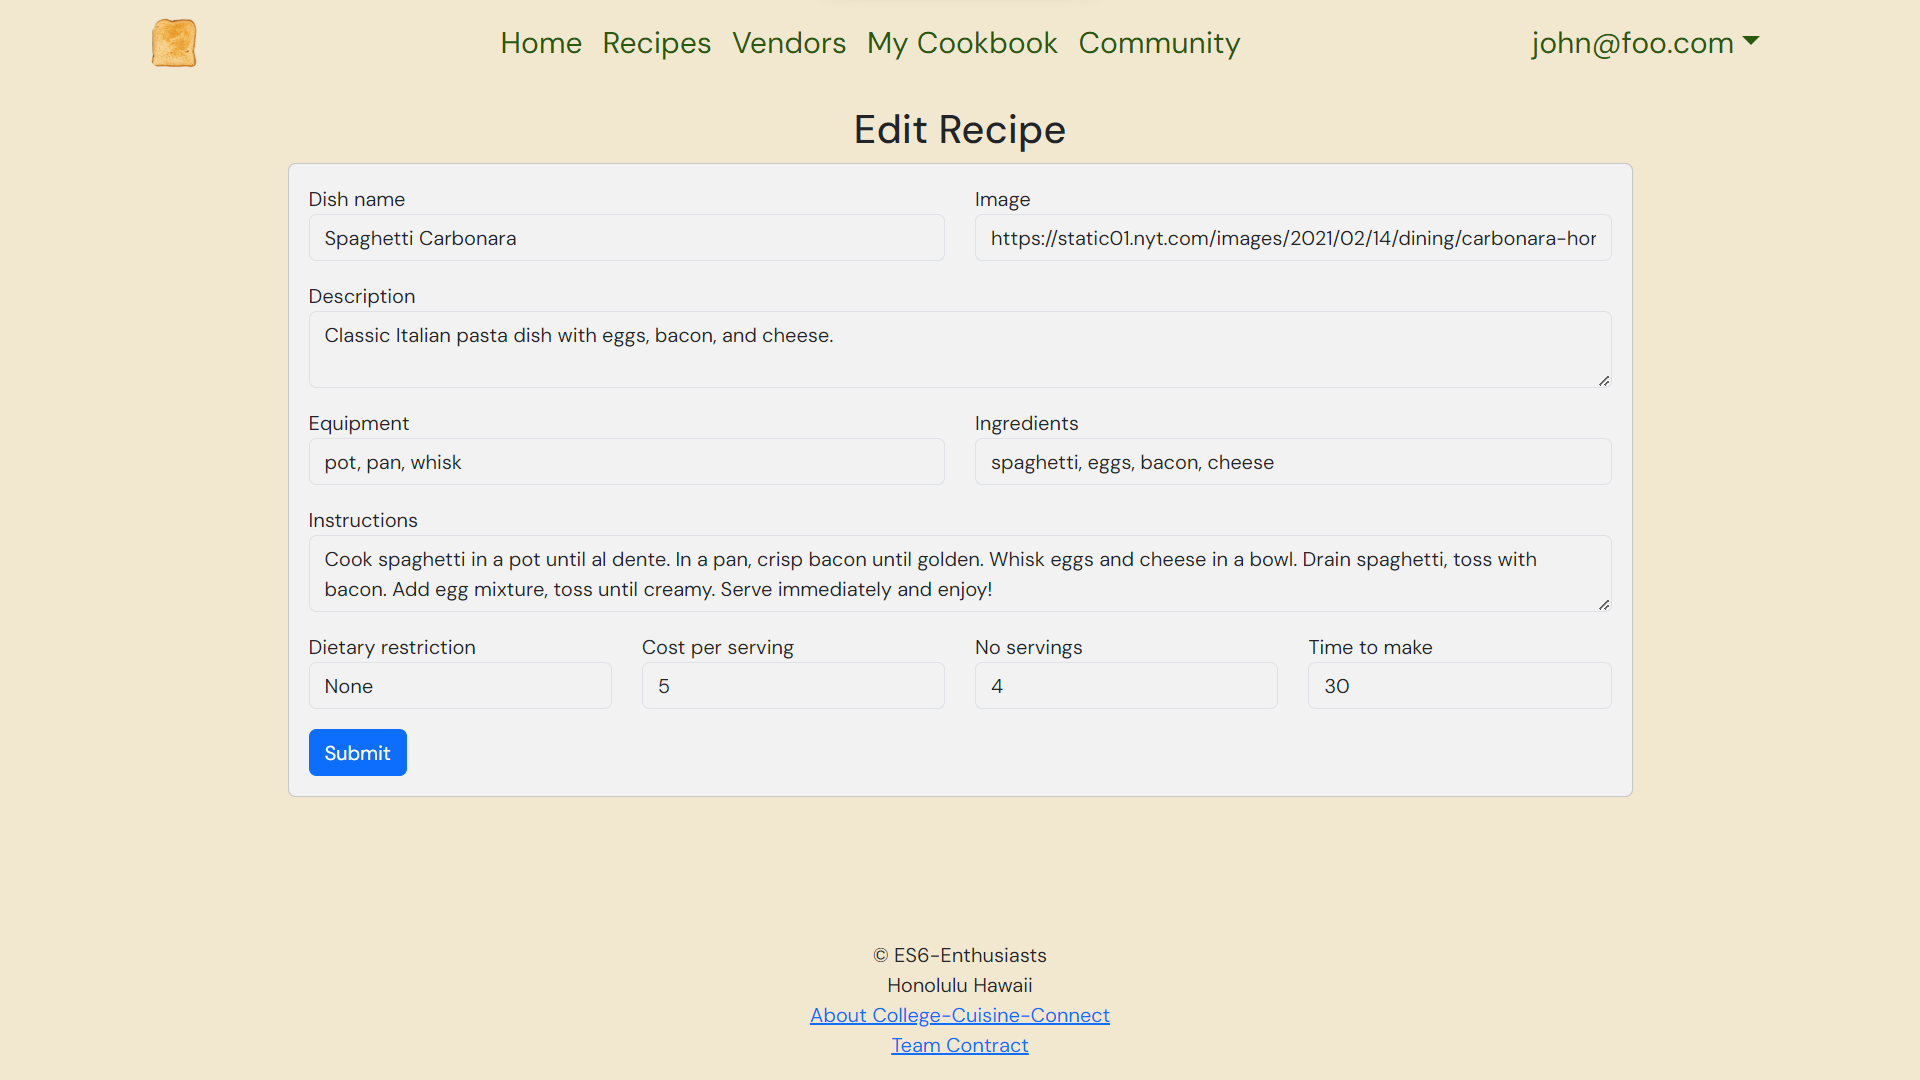
Each recipe card in your cookbook has an edit button that allows you to modify the recipe.
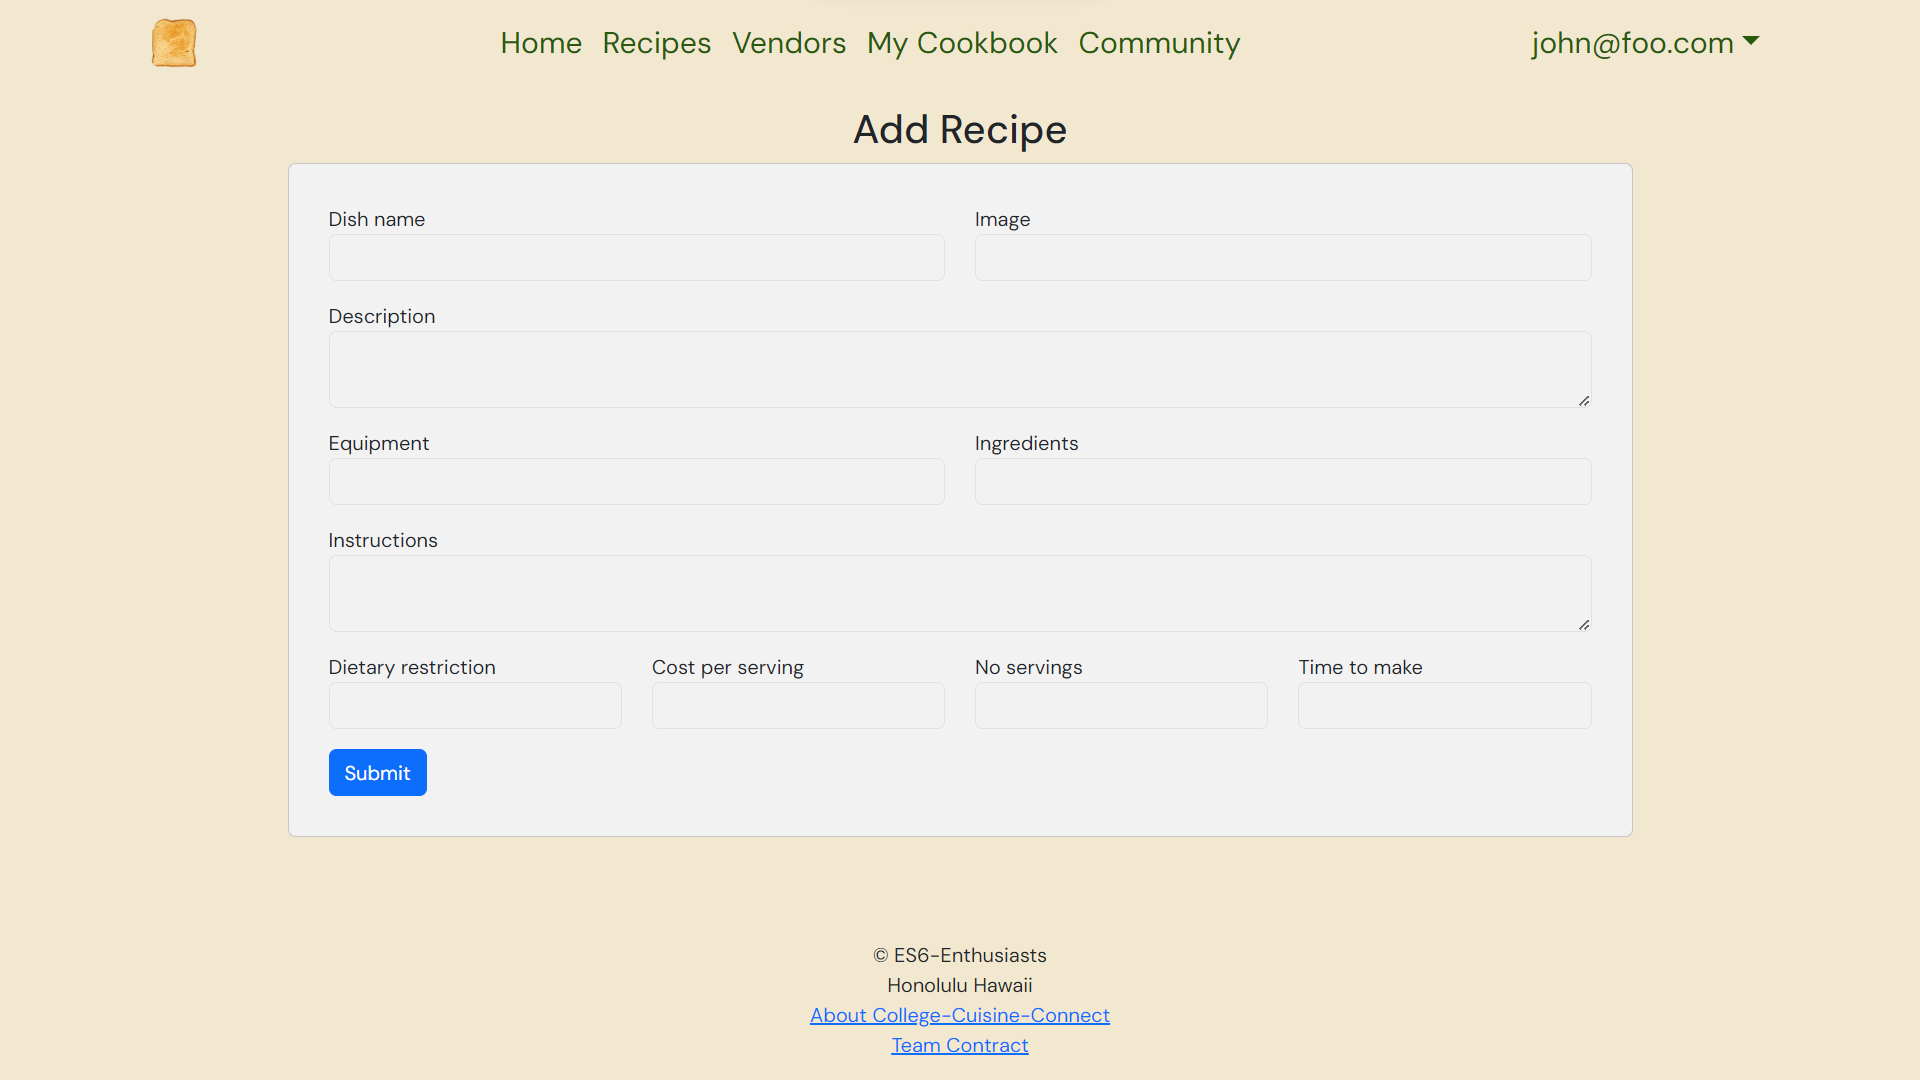
Below the page title, you will see an option to add a new recipe to your cookbook. Clicking the button will link you to a page where you can add a recipe.
Vendor
Establish your store profile and showcase your curated selection of ingredients.
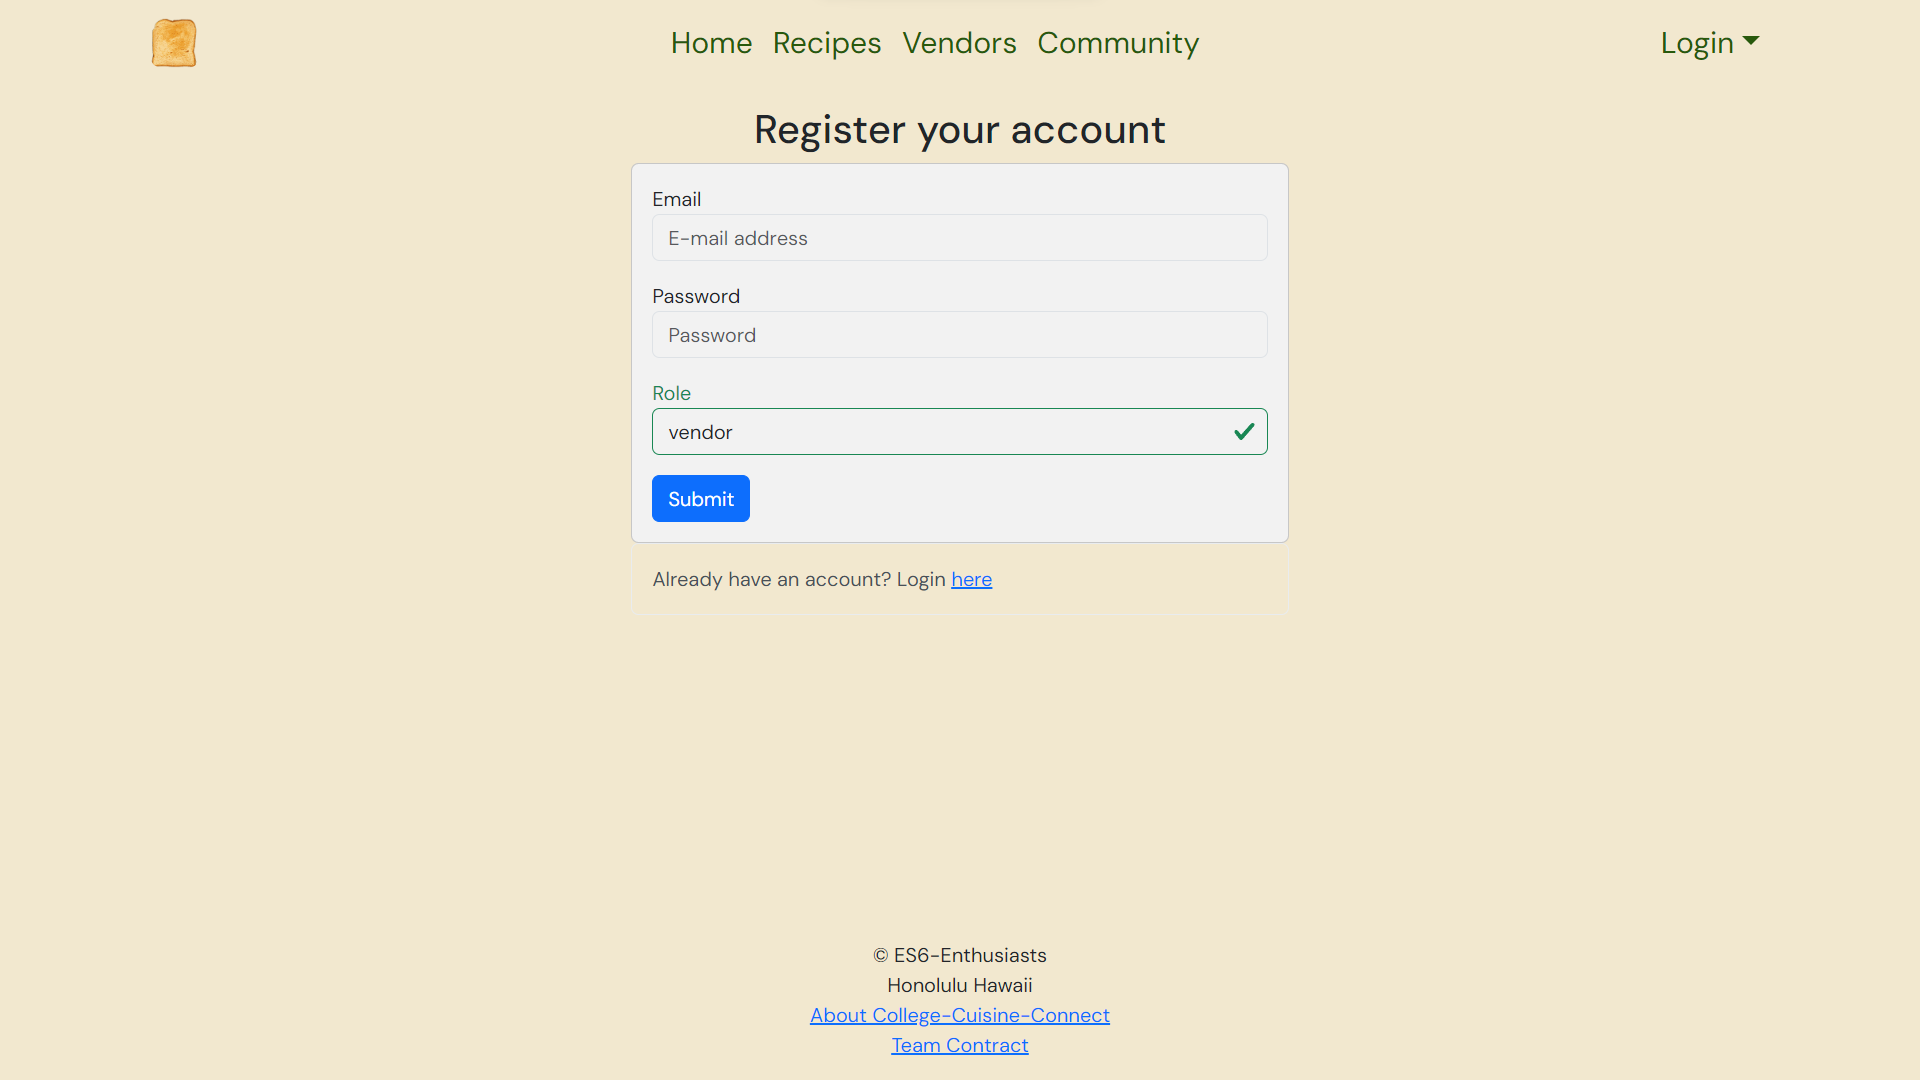
Log in or sign up for a vendor account. Access the login page through the navigation bar in the top right corner.
Try out the vendor user experience using the following test credentials: Email: vendor@foo.com Password: changeme
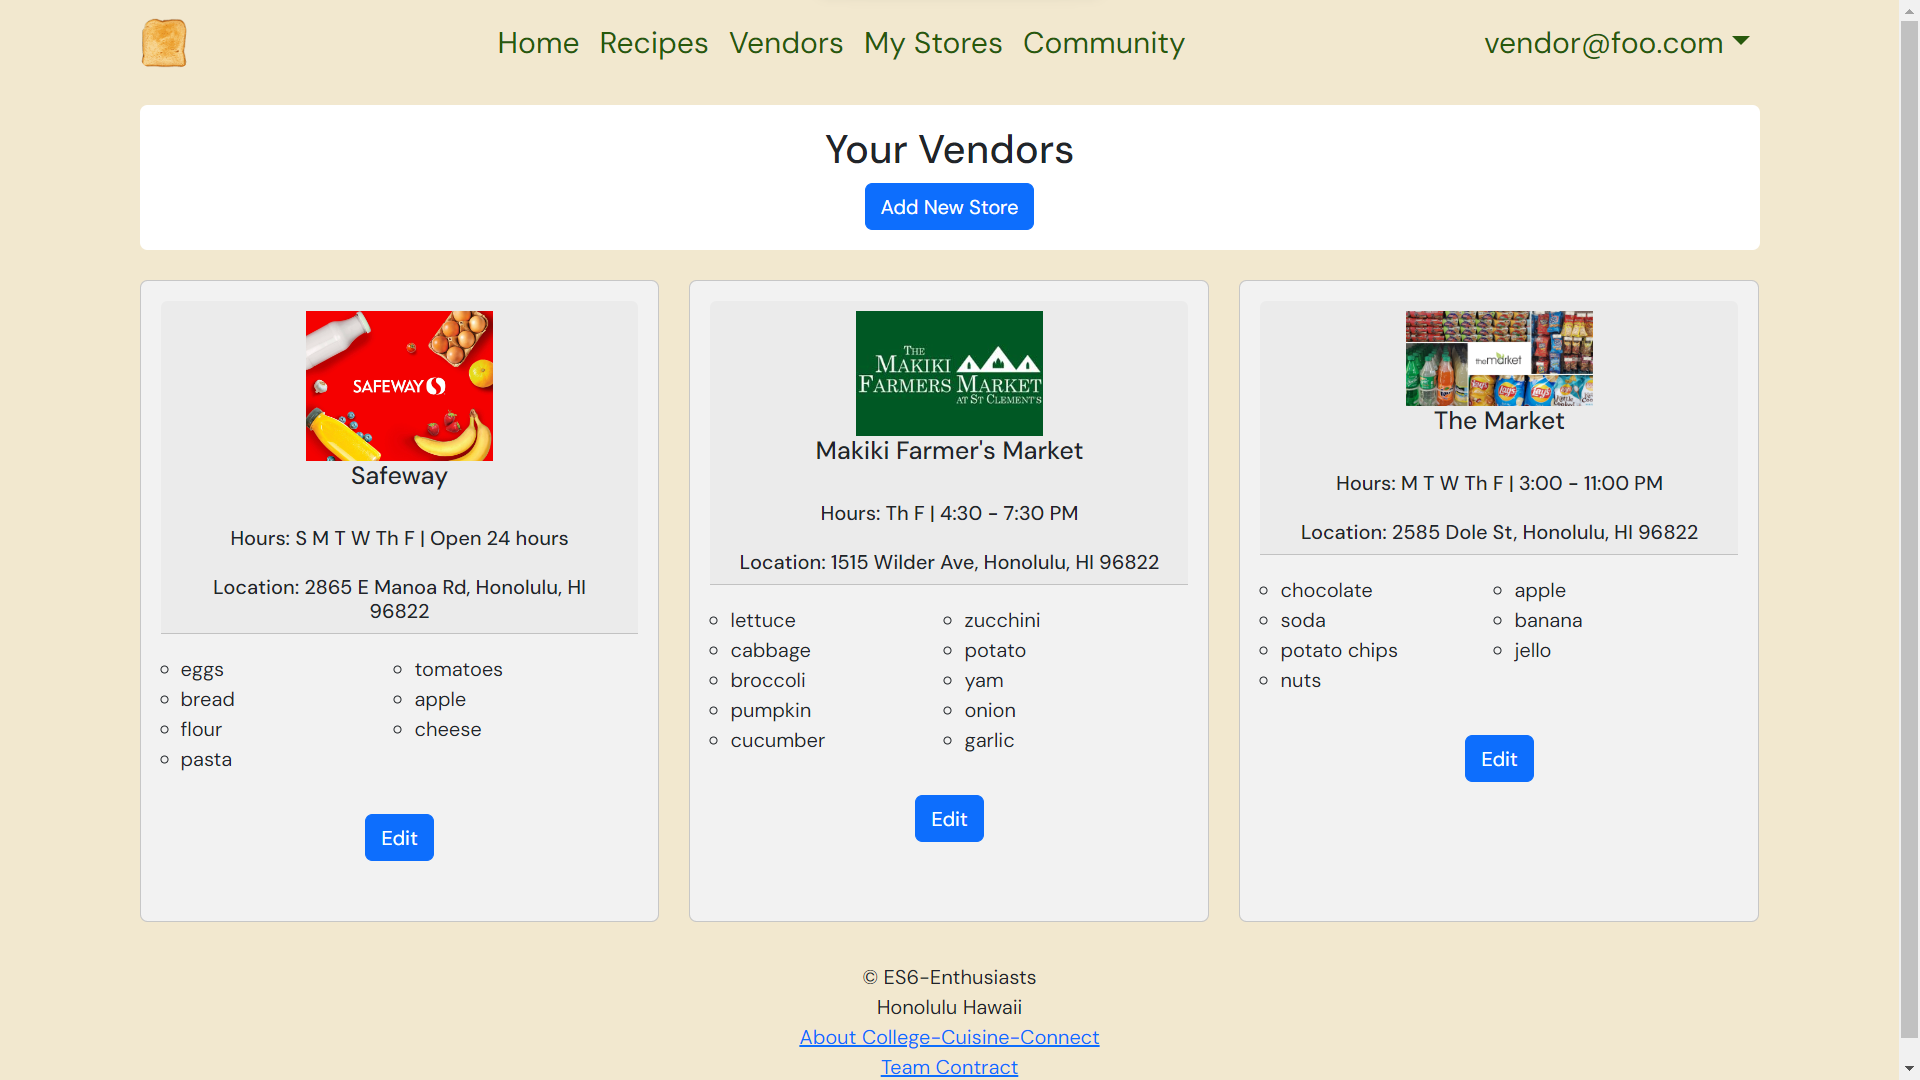
In the navigation bar, click on “My Stores” to view stores that belong to you.
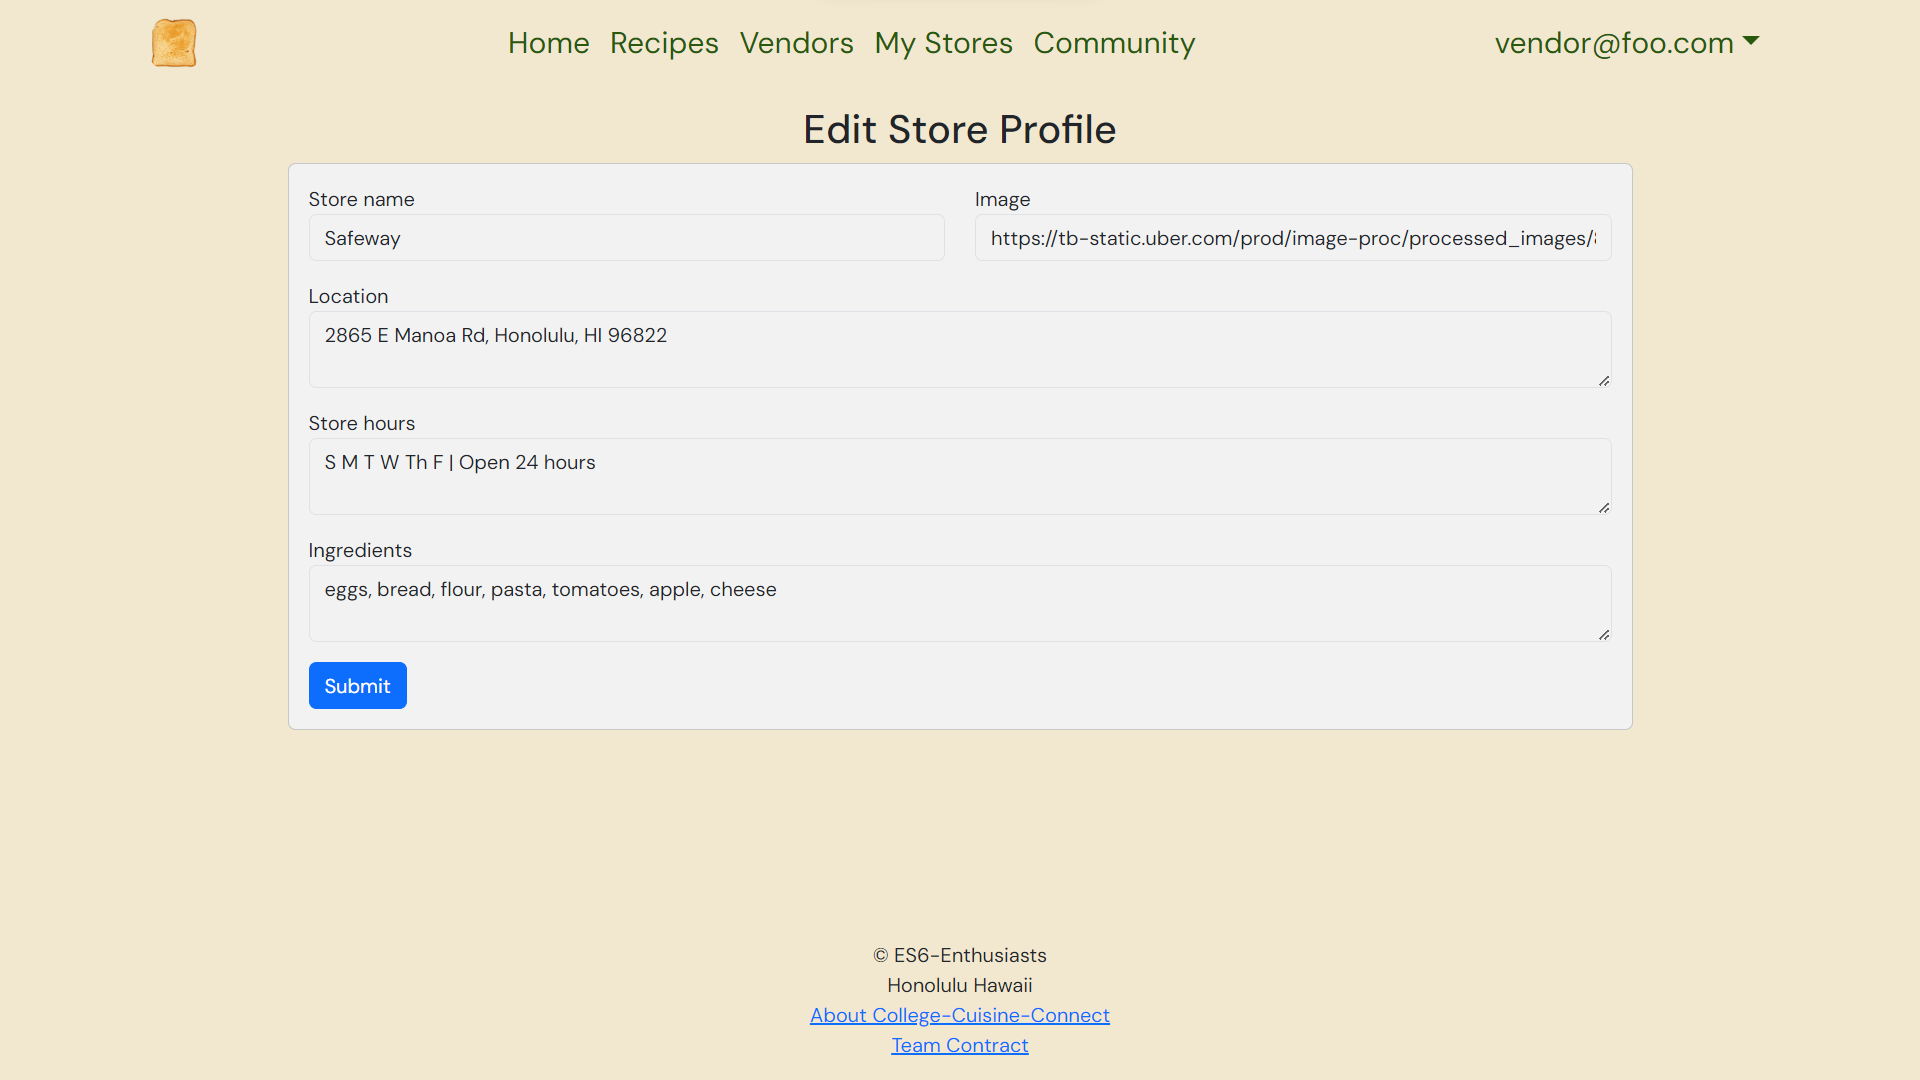
Each store profile card has an edit button that allows you to modify the shop information.
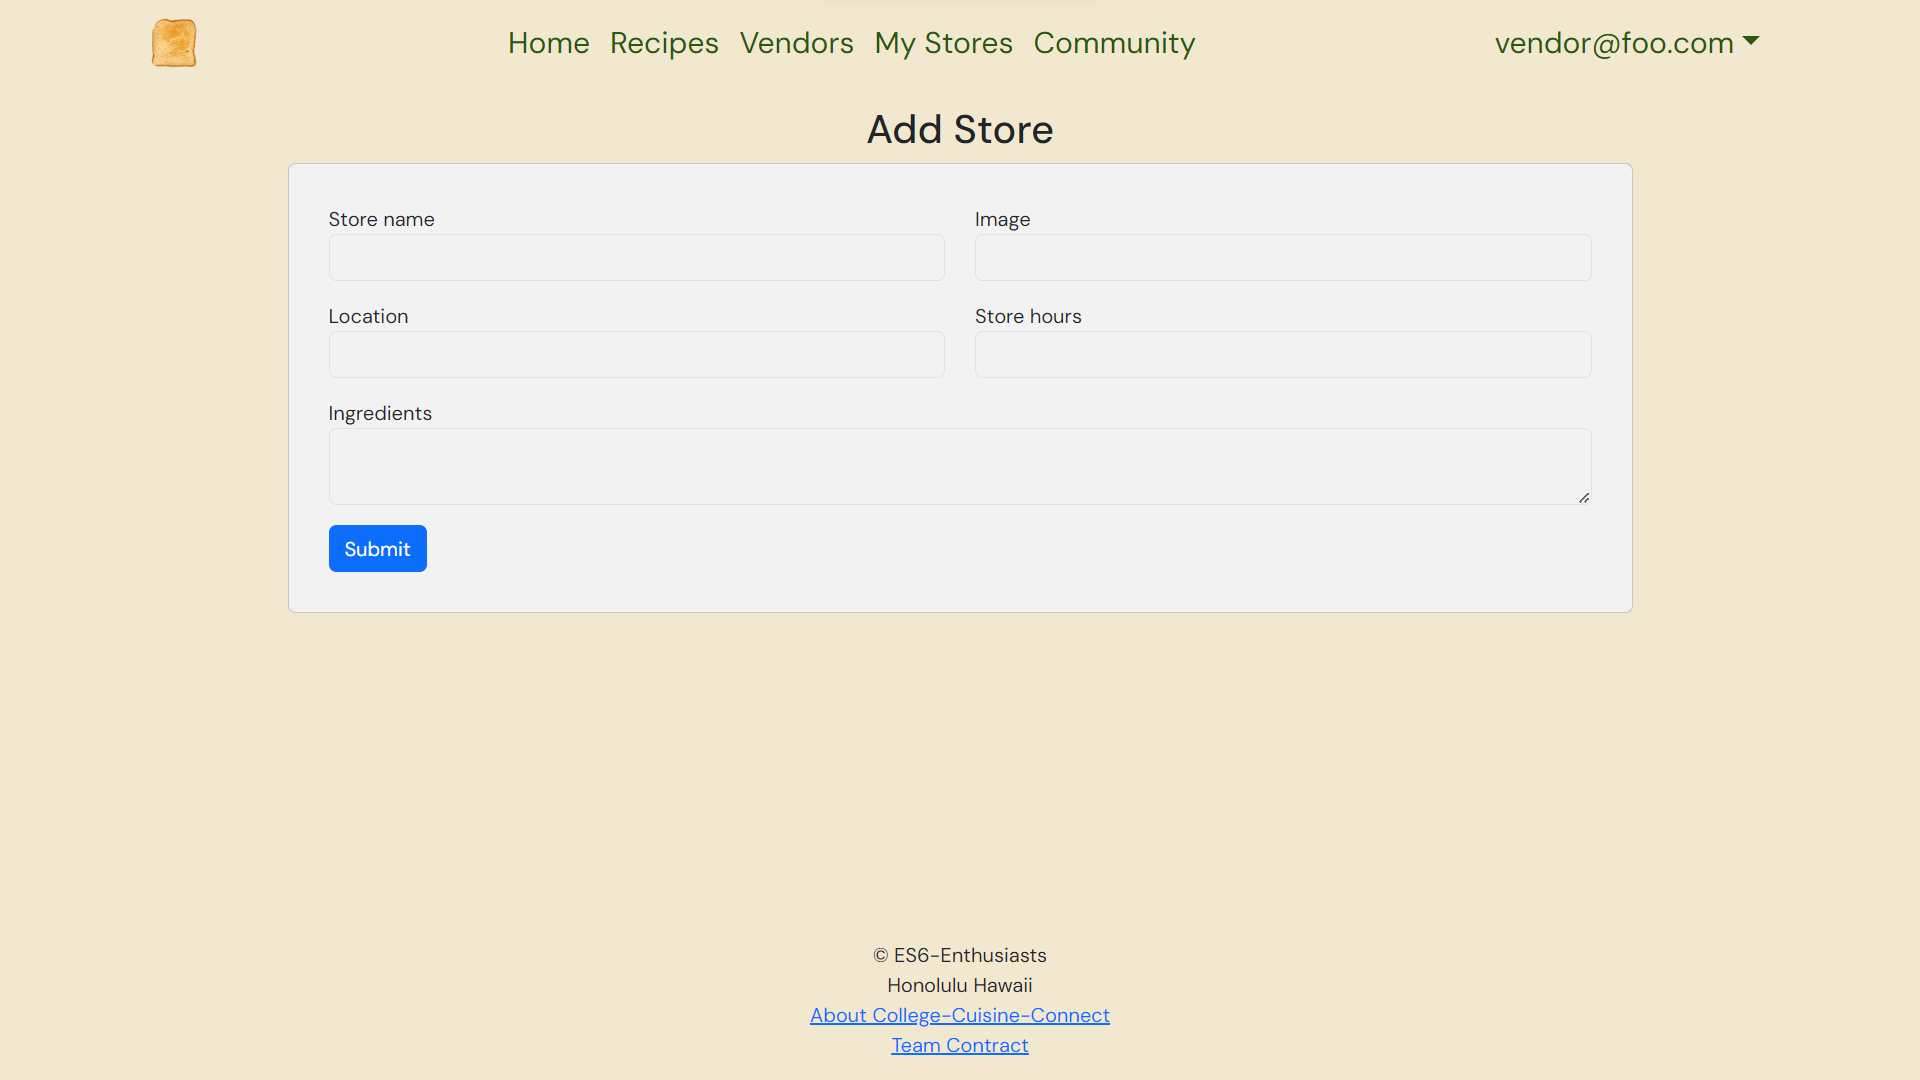
Below the page title, you will see an option to add a new store. Clicking the button will link you to a page where you can add a store profile.
Admin
Manage user accounts and moderate all content.
Admin role is granted by ES6-Enthusiasts. Contact us for more information.
Try out the admin user experience using the following test credentials: Email: admin@foo.com Password: changeme

Admins have access to all pages for every type of user. They can view additional information and modify all types of content to ensure the integrity of the application.
Culinary Adventures Await – Bon Appétit!